Virtual tours can be added in the listing's editing mode to help increase engagement and visibility.
Adding a Virtual Tour (Manual Listings)
- Log in to your Business Account and open the Listings Dashboard
- Select Add listing -> Add listing manually to begin a manual upload
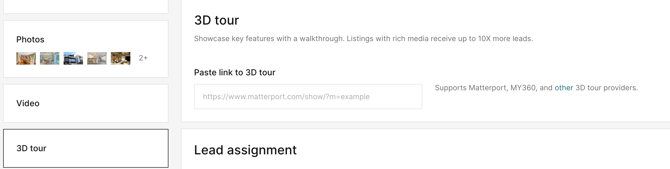
To add a 3D tour to an already published listing, simply open the listing in editing mode, navigate to the 3D Tour tab, and insert the link in one of the supported formats (the complete list is provided below).
- Complete your listing details, then navigate to the 3D tour section
- Paste your virtual tour link into the URL field
-
Publish or update your listing. Once live, the tour will appear automatically on the listing page.
Adding a Virtual Tour (XML Feed / Automatic Import)
If you upload listings via an XML feed, simply include your virtual tour URL in the corresponding feed field.
The link will be imported and automatically attached to the listing—no manual action required.
If your listing includes a 3D tour, a Virtual tour badge will be added to the listing. You can see the badge on the listing preview throughout the website.

Please find the list of the 3D tour formats our portal currently supports:
- Matterport
- My360
- YouriGuide
- Realistico
- Nodalview
- VT 3DVista
- H4Life
- Virtea
- CloudPano
- Kuula
- Theasys
- iStaging
- VirtualinkCY
- Giraffe360
- Floorfy
If you have any additional questions, please check our Help Center Articles here.